
What You'll Find in This Article
The bike looked fine. It was a Trek FX 3, two years old, with around 8,000 kilometers on it: a clean frame, fresh bar tape, and tires with plenty of tread. Walked into a bike shop on the floor, it would have passed as a quality used bike in good condition.
Thang, the head mechanic for one of our tour fleets, spent forty-five minutes inspecting it before flagging a problem. Under a magnifying glass, the rear derailleur hanger — the small metal tab connecting the derailleur to the frame — showed a hairline crack running about 8 millimeters along its surface, invisible to the naked eye.
That bike had been on fifteen prior tours without incident. Metal fatigues gradually, and a hairline crack today can become a snapped hanger under load on a climb two weeks later, with the chain jamming and the rider going down, possibly into traffic. The replacement part took four minutes to install. Finding the problem took forty-five.
This is what a real pre-tour inspection looks like.
The Full Checklist
Every bike that goes on tour with a quality operator goes through what’s typically called “full prep” — a systematic inspection that averages about two hours per bike. Not a quick once-over, and not just pumping the tires and checking the brakes.
Frame and fork. Every surface checked visually for cracks, dents, or structural damage, with particular attention to stress points: where the top tube meets the head tube, where the seat stays meet the seat tube, around the bottom bracket. Any paint bubbling or unusual marks get investigated. Fork legs are checked for straightness, since even a slight bend affects handling and can cause problems on descents. The headset is checked for play by rocking the fork against the frame; any clicking or movement means the bearings need attention.
Wheels. Each wheel goes into a truing stand, spun slowly while the mechanic watches for lateral wobble and vertical hop; wobble beyond 2mm gets corrected by adjusting spoke tension. Every spoke is plucked to check tension by sound — a dead-sounding spoke is loose, a notably higher pitch means it’s over-tensioned, and either gets adjusted. Hubs are spun by hand and should rotate freely with no grinding; grinding means the bearings are failing, even if the wheel still works fine today. Quick releases are checked for proper tension, since too loose risks the wheel coming off and too tight can make the release mechanism fail when it’s actually needed.
Tires. Tread depth is measured with a gauge rather than eyeballed, and tires below 40% remaining tread get replaced, since worn tires on wet roads during Vietnam’s rainy season are a real hazard. Sidewalls are checked for cuts, bulges, or cracking, since a small sidewall cut that looks minor can fail under heat and load on a long descent. Tire pressure is set for the specific tour conditions and logged so it can be re-checked on departure day.
Brakes. Pads are measured with calipers and replaced below 2mm of material, even if they’d likely last the tour, since “probably fine” isn’t a reasonable standard on a descent like Hai Van Pass. Pad alignment is checked so pads contact the rim squarely rather than toeing in or out, which causes uneven wear and reduced stopping power. Cables are checked for fraying, especially near the lever and at bends, since a frayed cable can snap under hard braking. Cable tension is adjusted so levers engage firmly without engaging too early, and each bike gets a test ride to confirm braking feel. For hydraulic brakes, fluid levels and lines are checked, with a bleed performed if the lever feels spongy.
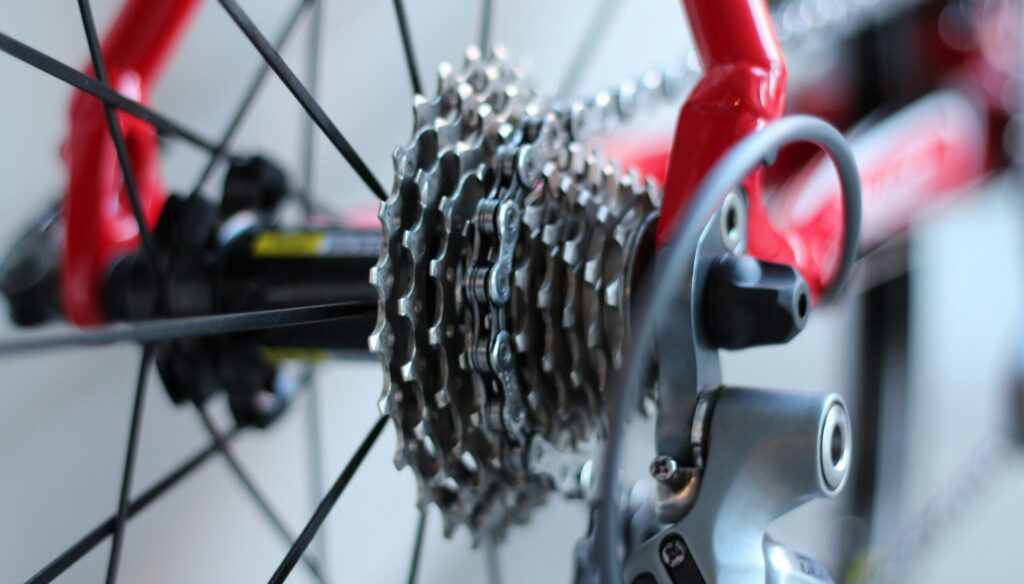
Drivetrain. Chain wear is measured with a chain checker tool; at 0.5% stretch the chain is aging, and at 0.75% it gets replaced even if it still seems to work, since a stretched chain wears down the cassette and chainrings and creates a bigger problem later. Cassette and chainring teeth are checked for “shark-finning” — hooked wear that causes the chain to skip under load, which is dangerous mid-climb. Both derailleurs are checked by shifting through every gear combination on a stand, watching for hesitation, skipping, or rubbing. Derailleur hangers, the same component that failed on the bike described above, are checked for alignment and fatigue; they’re designed to be the part that breaks instead of the frame, but that only works if the fatigue is caught before it fails on its own. Cables are checked for fraying and stretch, then shifted under load to confirm the indexing holds.
Cockpit. Handlebars are checked for cracks, especially near the stem clamp, since bars can fatigue over time and fail suddenly. Stem bolts are torqued to spec with a torque wrench — too loose and the bars can slip, too tight and the steerer or bolts can be damaged. Bar tape is checked for security and wear, and brake and shift levers are confirmed secure and positioned for a neutral hand grip.
Saddle and seatpost. Saddle rails are checked for cracks or bends, since they can fatigue and snap. The seatpost is checked for proper insertion depth against its minimum insertion line, and the seatpost clamp is torqued correctly, tight enough to prevent slipping but not so tight it crushes a carbon post.
Accessories and final checks. Bottle cages secure, pedals spinning freely, lights charged and working, bell functional (required under Vietnamese law), reflectors present. The bike is numbered and logged in the fleet tracking system with notes on anything found and replaced. Finally, a short test ride confirms everything works under actual riding conditions, not just on the repair stand.
Why Two Hours
A basic check — tires, brakes, gears, done — takes about thirty minutes and would probably catch the obvious problems. But “probably” is the operative word. A typical week of full inspections across a fleet of bikes tends to turn up a cracked derailleur hanger, a couple of chains near replacement threshold, a wheel with loose spokes, a fraying brake cable, or worn cassette teeth — the kind of issues a thirty-minute check would likely miss, and that tend to surface mid-tour instead, on day four or day eight, as actual mechanical failures.
The riders who get a fully inspected bike never see any of this. They just experience a bike that shifts cleanly, brakes confidently, and doesn’t creak or skip anywhere.
What Budget Operators Often Skip
This level of inspection takes skilled mechanics and real time, which costs money. Common shortcuts at lower-cost operators include a quick visual check only (which misses hairline cracks, worn bearings, and stretched chains), infrequent deep inspection rather than before every tour, deferred replacement of parts that are close to their limit but “probably fine,” and using staff who can pump tires and turn a wrench but aren’t trained mechanics who’d catch subtler issues.
Most of the time, nothing goes wrong with any of these shortcuts, since bikes are generally reliable and most components fail gradually rather than suddenly. But “most of the time” isn’t really a safety standard, it’s a bet, and the downside of losing that bet — a chain snapping mid-climb, a brake failing on a descent — falls entirely on the rider.
The Inspection Nobody Sees
By the time a tour starts, this work is long finished. The bike has been measured, tested, adjusted, and signed off. Worn components have already been replaced, and the issues that could have become problems have already been caught.
That’s roughly how good maintenance is supposed to work: invisible. The result is a bike that just works, without the rider ever seeing the two hours of inspection that got it there.
