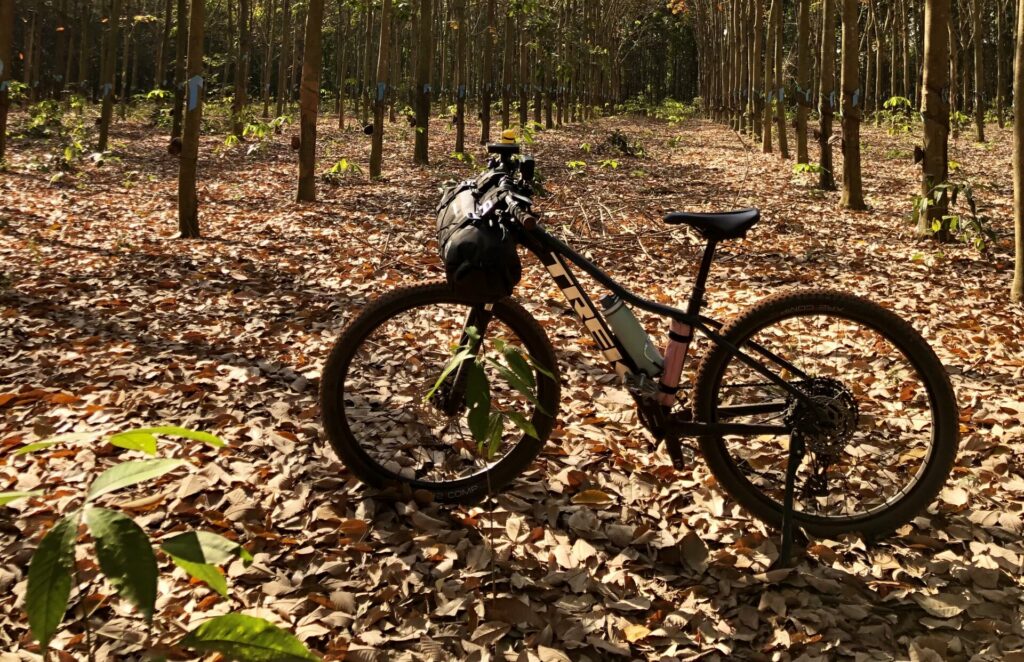
A saddle a few centimeters too low, or handlebars set wrong, won’t cause much trouble over an hour of riding at home. Over a multi-day tour covering 5-8 hours of saddle time a day, the same misalignment can turn into a tour-ending injury, and the cause is rarely obvious in the moment.
Why Bike Fit Matters More on Tour Than at Home
A typical pedal cadence runs 80-90 revolutions per minute. Over a five-hour riding day, that’s roughly 25,000 pedal strokes; over a two-week tour, somewhere around 300,000. If something in that motion is slightly off — saddle too high or too low, handlebars too far away, a cleat rotated wrong — those hundreds of thousands of repetitions will eventually find the weakness. A misalignment that a body tolerates for a few thousand strokes can become a real problem well before stroke number 200,000.
The Most Common Fit-Related Problems
Knee pain. Pain at the front of the knee usually points to a saddle that’s too low or too far forward, causing over-flexion at the top of the pedal stroke. Pain behind the knee usually means the saddle is too high, over-extending the leg and straining the hamstring tendons. Pain on the outside of the knee often points to cleat rotation forcing the foot into an unnatural angle. Knee pain is the most common tour-ending injury, since knees have very little tolerance for repetitive misalignment.
Lower back pain. Typically comes from reaching too far for the handlebars (forcing a rounded lower back to compensate) or a saddle set too high, which makes the hips rock side to side with every pedal stroke. It tends to build gradually — fine on day one, uncomfortable by day three, limiting by day five.
Neck and shoulder pain. Usually comes from handlebars set too low (forcing the neck to crane upward) or a reach that’s too long, putting weight on the hands and shoulders that should be supported by the saddle instead. A tight grip on the bars compounds this by transferring tension up through the arms.
Hand numbness. Comes from too much weight resting on the hands, often from an overly long reach or a saddle tilted nose-down, or from wrists held at an angle that compresses nerves. This is a safety issue as much as a comfort one, since it affects braking and steering control.
Saddle discomfort gets its own section below, since it’s the most common source of touring misery and the trickiest to fix quickly.
What a Proper Day 1 Fit Session Covers
A good fit starts with a few questions: cycling experience and background, any current or past injuries, any history of fit-related problems, and a sense of preferred riding position.
Saddle height is the most critical single measurement. With your heel on the pedal at its lowest point, your leg should be fully extended; moving to the normal pedaling position (ball of foot on pedal) should leave a slight bend at the knee. Pedaling backwards slowly should show no side-to-side hip rocking — rocking means the saddle’s too high, while a still-bent knee at the bottom of the stroke means it’s too low. The acceptable range is narrow, often within a centimeter or two of ideal, which is why eyeballing it tends not to work.
Saddle fore/aft position affects how your weight sits relative to the pedals. With the cranks horizontal, a plumb line dropped from the front of the forward kneecap should land roughly over the pedal axle, or slightly behind it for a more comfort-oriented setup. Too far forward causes knee pain and quad fatigue; too far back causes reaching and lower back strain.
Saddle angle should be close to level, or tilted very slightly nose-down (1-2 degrees at most). Nose too high creates soft tissue pressure and numbness; nose too low causes sliding forward onto the hands.
Handlebar height and reach are more limited to adjust on a rental bike, but small changes still matter. For touring, bars level with or slightly below the saddle generally work better than an aggressive low position built for racing. With hands on the hoods or grips, the elbows should have a slight bend — locked-out arms mean too much reach, very bent arms mean too little.
Cleat position, for riders using clipless pedals, matters more than people expect. The ball of the foot should sit roughly over the pedal axle, and rotation should match the foot’s natural angle rather than forcing a neutral position on a foot that doesn’t sit that way naturally. Using maximum float (the degree of rotation allowed before the cleat releases) is the safer default if in doubt.
The Test Ride
Static fitting gets most of the way there, but 15-20 minutes of actual riding, including a short climb and some flat road, reveals problems a stationary fit can’t catch. Worth paying attention to: whether the knees track straight up and down or bow outward or inward (often a cleat issue), whether the hips stay stable or rock (saddle too high), whether you feel like you’re stretching for the bars or cramped against them, how much weight is resting on the hands, and whether tension is building in the neck. Any of these are worth addressing before the real riding starts, since adjustments take minutes and injuries take days to develop and weeks to heal.
Saddle Comfort: A Closer Look
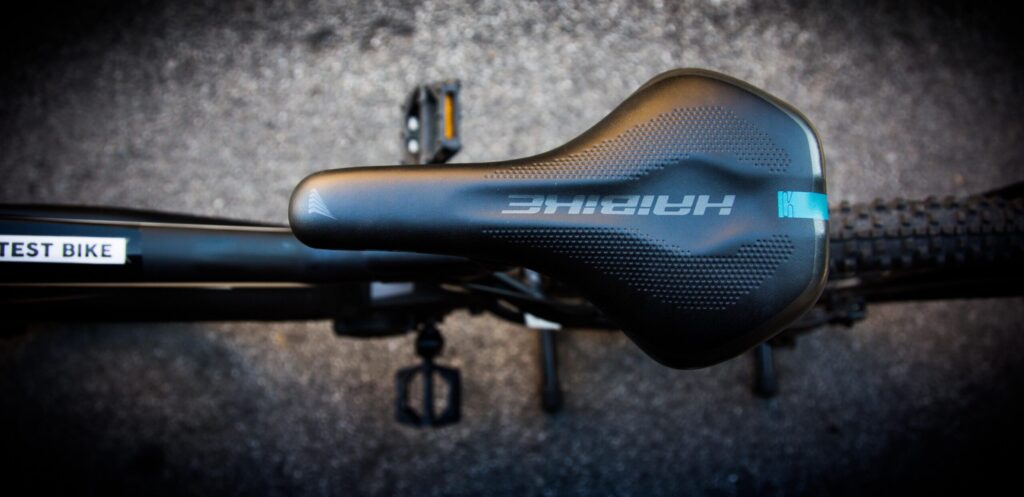
Sit bones (ischial tuberosities) vary in spacing by individual, typically 90-150mm apart, which is why a saddle that’s perfect for one person can be genuinely painful for another. Riding position matters too — upright positions put weight mainly on the sit bones, while more forward-leaning positions shift weight toward soft tissue, which is part of why racing and touring saddles are shaped differently.
Warning signs worth taking seriously: numbness (don’t just tolerate this), chafing, concentrated pressure points, or constant shifting because no position feels comfortable. A few things help: adjusting the saddle angle first, since a small tilt change solves a surprising number of problems; adjusting height, since either extreme creates different kinds of saddle discomfort; using chamois cream liberally and applying it to yourself rather than the saddle; investing in quality padded shorts, since a good chamois often matters more than the saddle itself, and bringing 3-4 pairs to rotate daily; asking the operator for a different saddle if the standard one isn’t working after reasonable adjustment; and, for anyone with a saddle that already works for them at home, considering bringing it along, since sit bones don’t change between continents.
Mid-Tour: Don’t Wait It Out
The Day 1 fit session isn’t the end of the process. Bodies change over a tour, and problems can emerge later that weren’t there at the start.
Worth flagging to a guide immediately: pain that worsens as you ride, any numbness, pain on only one side (often a sign of a fit issue rather than general fatigue), new pain that wasn’t there the day before, or pain that doesn’t ease up with a position change. Most of these adjustments — saddle height, fore/aft position, angle, handlebar angle, sometimes cleat position — can be made trailside with a multi-tool in a few minutes, and a good guide will carry the tools to do it.
It’s worth distinguishing between discomfort that genuinely improves with time and discomfort that doesn’t. General saddle soreness in the first few days often does ease as the body adapts. Joint pain, numbness, and sharp pain generally don’t — they tend to get worse, not better, and waiting them out usually means a bigger problem later rather than a smaller one now.
Preparing Before You Go
If you ride regularly at home, it’s worth knowing your own numbers — saddle height, saddle setback, handlebar drop — and sharing them with the tour operator in advance, so a rental bike can be set close to your numbers before you even arrive. A professional bike fit at a local shop beforehand, typically $100-300, uses tools a guide in a hotel parking lot won’t have access to, and can catch things like a leg length discrepancy or flexibility limitation that would otherwise only show up as unexplained pain partway through the tour. And if you’re bringing your own saddle, pedals, or cleats, test them on at least 100 kilometers of riding before the trip — new gear for a big trip is a reliable way to discover a problem at the worst possible time.
Conclusión
Bike fit isn’t the reason anyone books a Vietnam cycling tour, but it has an outsized effect on how the rest of the trip actually feels. Take the Day 1 fit session seriously, do the test ride, and speak up early if something feels wrong rather than hoping it resolves on its own.
